
When do you harvest garlic (and what do you do with it once you do)?
The timing, the subtle (and not-so-subtle) cues on when to harvest, how to cure and store, and what happens if you let it flower.
So you planted garlic cloves last fall. In spring, they sprouted. If this was your first time growing garlic, you may have been surprised at the size of the plants you’ve got now that it’s summer. And you’re starting to wonder how harvesting works, since, unlike other garden plants, you can’t exactly just look at your garlic bulbs.
Quick answer: you can harvest garlic after 3-5 of the lower leaves start to brown. This is usually 3 to 4 weeks after scapes appear (if you’re growing hardneck garlic). But there are a few other things you might want to know if you’re growing garlic, such as what happens if you let them flower, and how to cure and store them.
Keep an eye on your garlic plant’s leaves
Your garlic plant’s leaves are the main indicator of when you should harvest.
Garlic pushes up leaves in early spring. By the time the leaves mature, they’re usually a foot or two long, and the whole plant’s about 3 feet tall. There are somewhere between 6 and 12 of them per plant.
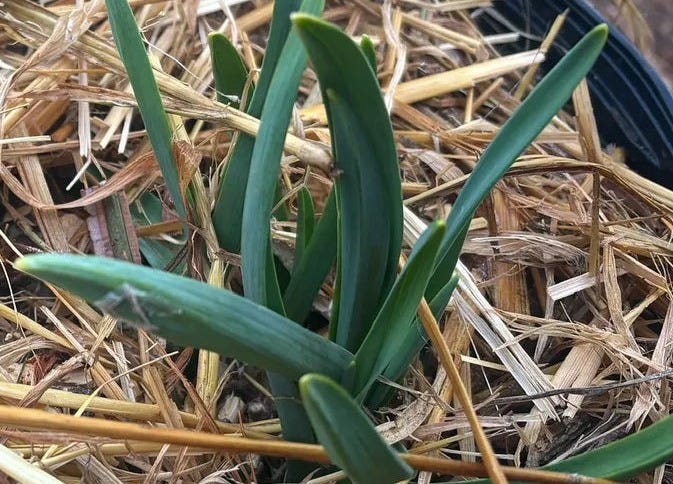
The leaves are edible and quite tasty, like very mild garlic. However, each one you cut means less energy gathered for the bulbs. Penn State extension recommends that if you like garlic greens, you should grow plants specifically for greens.
Leaves are also your garlic’s “paper” wrapping
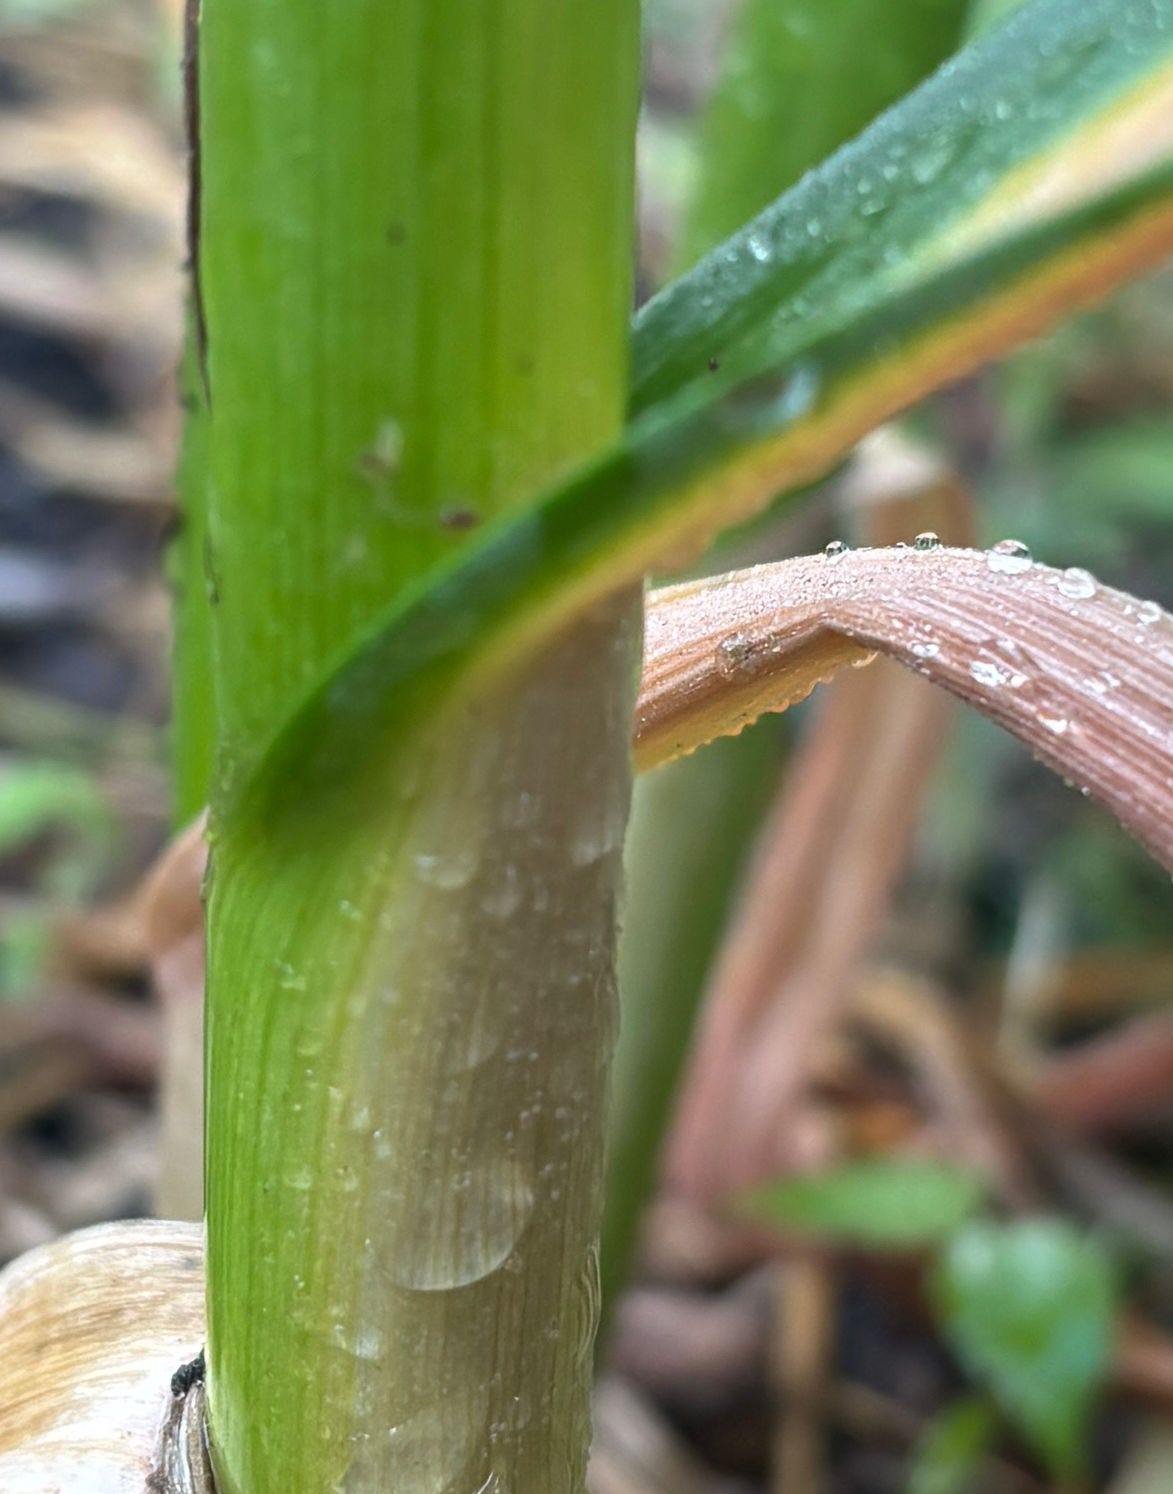
The leaves extend all the way down to wrap around the bulb. The thing on the plant that looks like a stem? That’s actually your plant’s leaves folded on top of one another. And if you could see under the soil, you’d see them layered over the bulb, too.
If you planted hardneck garlic, you get scapes (or flower stalks)
As days get longer and warmer, garlic plants realize they need to make more garlic plants. Hardneck garlic puts out scapes, or a flower stalk without leaves that comes from the base of the plant. Dandelions, hostas, and day lilies also put up scapes.
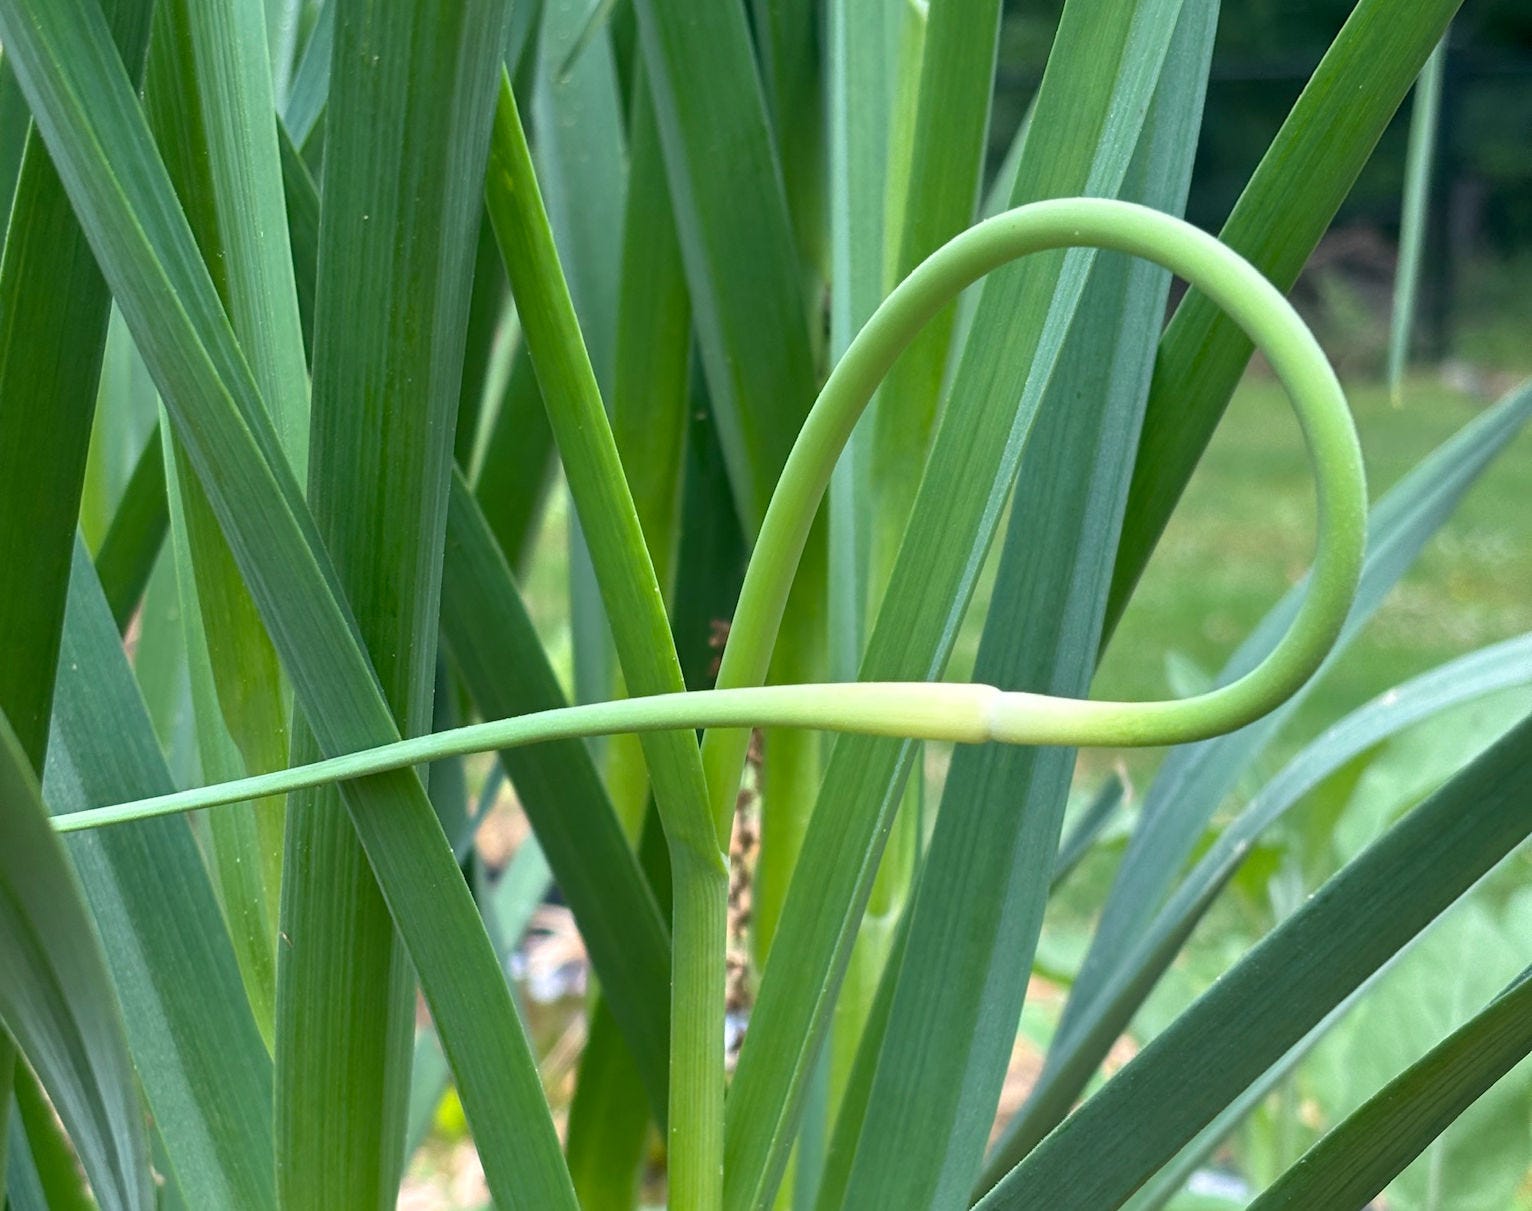
Softneck garlic doesn’t (usually) put up scapes. Over thousands of years of growing it, we’ve “trained” this trait out of it.
There are two things to know about garlic scapes. First, we cut them off so that the plant doesn’t spend energy developing them. Cutting the scape makes the bulbs bigger.
Second, you should eat them. Treat them a little like a mild, vegetabley garlic clove. You can use them in stirfry, make pesto, etc.
What part of the scape do you eat
The curling stalk. Trim off the pointed end, which is stringy and a little bitter, just below the bulge. Then cut off the woody part at the other end. Sautee them, chop them and add them when you would add garlic in other recipes, etc.
If you left the scapes on, would you get seeds?
Not exactly. For reasons a little beyond the scope of this post, planting cloves for thousands of years has resulted in hardneck garlic plants that can’t make seeds.
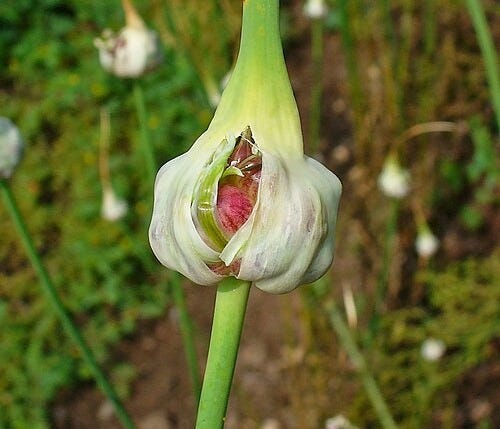
Instead, you get something called a bulbil, which is (more or less) a tiny clove. You could plant a bulbil, but it would take roughly 3 years to turn it into a whole head of garlic. And you would need to remove it in summer and replant it every fall to prevent rot.

Leaves start to turn brown
A few weeks after the scapes, garlic plant leaves begin to turn brown and die back. This is normal. Garlic growers use it to tell them when it’s time to harvest. Here are a couple of typical rules to follow:
Harvest when the bottom 3 to 5 leaves are brown but the top 5 are still green1
Expect to harvest 3 or 4 weeks after scapes2
As leaves begin to turn brown, water less
At this point, the plant’s taking in a lot less water. Which means you shouldn’t give it as much as you did as it was developing. Too much moisture now might cause the bulbs to rot or break down the “paper.” It can also cause the bulb to split.3
Don’t wait for ALL the leaves to turn brown to harvest
When a leaf dies, the part of it that wraps the bulb will also wither away underground. So we don’t want all the leaves to die becase we don’t want garlic without paper skins. Then you’d have less of a bulb and more of a handful of naked cloves. This is why we harvest when some leaves are still green.
Harvest
Don’t yank! Garlic plant stems look thick, but they’re just the leaves rolled into a column. They snap easily.
Instead, loosen the soil. Most guides I’ve read suggested using a garden fork, which is sort of like a thicker, stronger version of a pitch fork. If you’ve got a lot of garlic, this makes sense. If you’re just growing a few plants in the backyard, you could just as easily use a hand fork, trowel, or soil knife (hori-hori). The point here is to loosen the soil so you can lift the whole bulb out.
If you’re growing in a pot, you could even just tip the pot over.
What does a mature bulb look like?
The mature bulb should be clearly divided into cloves. Obviously we’d also like it to be plump and bulbous, though those are relative. If the bulb still looks like a smooth, undivided whole, it’s probably not fully mature yet.
Harvest a test bulb first
It’s common advice to harvest a test bulb. That is, dig up just one to see if it looks mature or if it needs a little more time.
Supposedly you can put the test bulb back, but I’d just use it. Even if it’s small, it’ll be tasty. It’ll be mild and juicy.
You may also just be able to gently scrape away the soil from the top of the plant and see if the bulb looks mature.
Don’t harvest when it’s wet
If possible, harvest when the soil’s fairly dry, maybe after a couple days with no rain. This helps avoid soil caking on to the garlic bulb and causing rot.
If you’ve got a mulch layer—and you probably should have a mulch layer—you can pull it back a day or two before you harvest. This will help dry out the soil around the bulbs.
Curing (and storing)
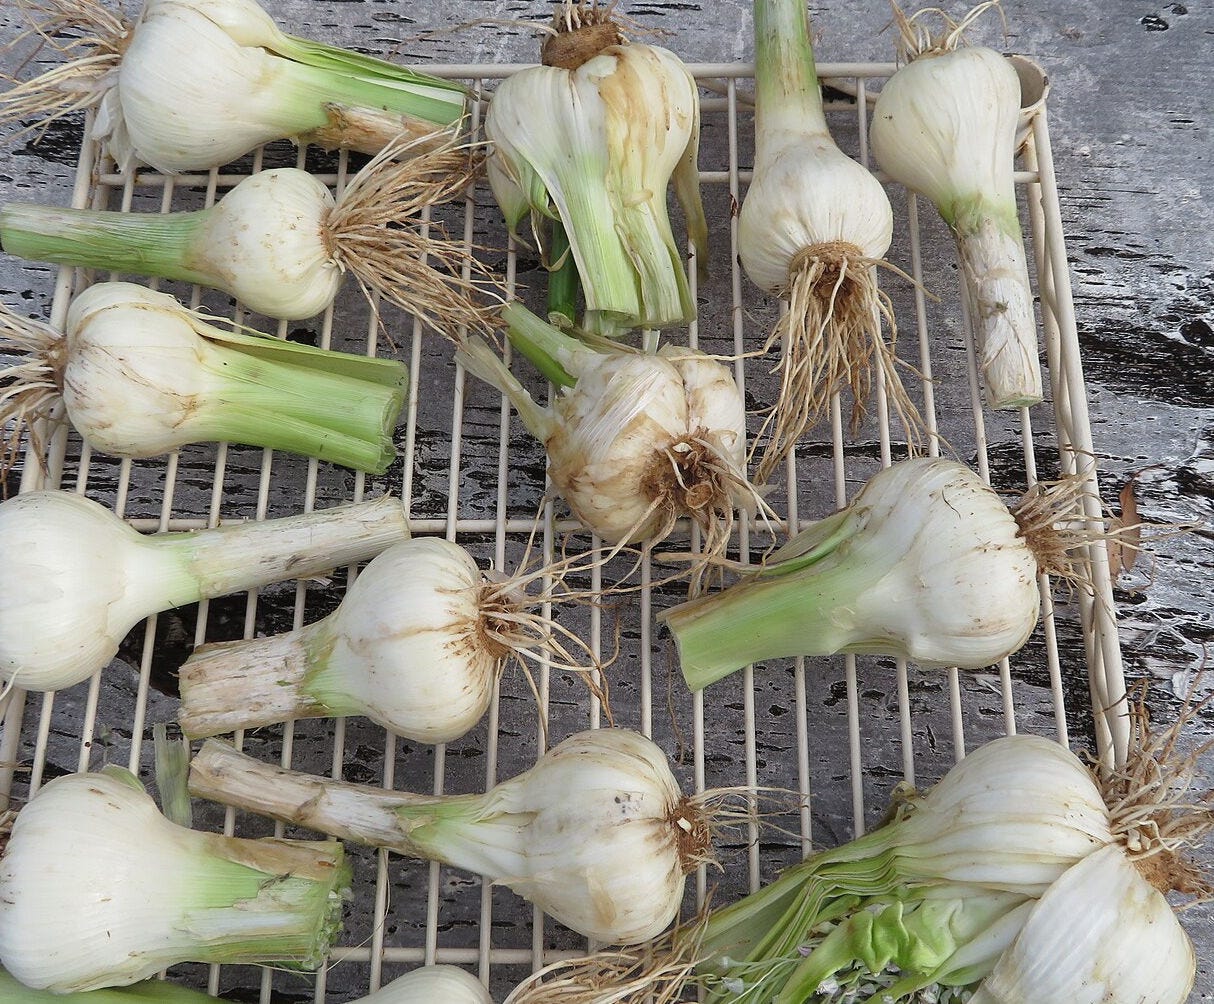
Curing is the process of drying the bulb you harvested so that it’ll keep, sometimes for months. During curing, the paper dries into a protective skin, and the neck (where the leaves meet the cloves) seals shut.
You don’t need to cure before you eat. Curing is for storing. You can eat garlic immediately after harvesting.
Here’s the process for a curing:
Brush off loose dirt. Don’t use water! You can use your hand or a microfiber cloth. Be gentle. It’s fine if you can’t get everything off; you can try again after the bulb has dried. Don’t cut off the leaves or roots yet.
Hang the bulbs or lay them on a rack. Put them somewhere dry, out of the sun, and with good airflow. A fan can help, even if it’s not pointed directly at the garlic.
After a few weeks, the necks should be dry. The skins should be papery. The roots should feel wiry.
Now’s a good time to try cleaning the garlic again, since the soil should be dry and less clingy. Trim the roots and cut the leaves back to about an inch above the clove. (If you’re growing softneck garlic, you can supossedly use the leaves to braid them. As a New Englander, I don’t know anything about braiding garlic and refuse to learn.)
Store them somewhere cool with good airflow. In a kitchen that’s not too warm and humid, they may last a month or two. Some people also pickle garlic cloves for even longer storage.
.jpg)
“Optimal” storage
The University of Massachusetts has a more detailed guide to curing and storing. It’s written for people who have a whole field of garlic, but it’s useful for us backyard operators, too.
The guide says that you can keep bulbs for 6 to 7 months if you store them somewhere with low humidity, good airflow, and at just above freezing (32°F / 0°C). I’m not sure how you’d achieve that without a dedicated fridge set to a low temperature, but if you have the option, you can keep garlic for much longer.
Storage “gotchas”
Fridges
You might think, “If 32 degrees gets you 7 months, and my kitchen counter gets me 2 months, I should store it in my fridge, and get like 3 or 4 months.” That’s both reasonable and might backfire.
Garlic uses temperature as a signal for growth. It needs a cold period to “know” that winter’s passed, and then it sprouts best between 40-50°F (4-10°C).
So if you keep it at 32°F / 0°C, it thinks it’s winter and stays dormant. If you keep it at 60°F / 15°C, it’s less likely to sprout, since the sprouting band is 40-50°F.
Unfortunately, fridge temperatures are in a sort of reverse sweet spot where garlic gets its “winter” signal and its “sprouting” signal. So that’s often the worst place you can store bulbs, unless you can guarantee that your fridge is a constant 34ish°F. (Like maybe nobody ever opens the door.)
In addition, fridges can be humid, which can create rot.
Freezers
On the other end of spectrum, freezing temperatures can freeze the water inside the clove, which can cause damage. If you want to freeze garlic, peel and chop the cloves.
This is the standard advice given by various extensions and e.g. Margaret Roach, New York Times gardening columnist and host of the podcast A Way to Garden.
Same as previous footnote: harvest 3-4 weeks after scapes is the Typical Advice.
Another common recommendation, such as by Colorado state extension.
Thanks! I was going to have to google “when to harvest garlic” in the next couple days, and here it was all laid out for me like a beautiful gift